 Save to Pinterest
 There's something almost meditative about melting chocolate and butter together, watching them transform into something glossy and luxurious. I stumbled into brownie-making during a particularly gray afternoon when I was craving something both comforting and indulgent, and what I discovered was that the secret to those perfect fudgy squares isn't hidden in fancy ingredients—it's in knowing when to stop stirring and trusting the oven to do its job. That first batch taught me more about patience than any recipe could, and now I make them whenever I need to remember that sometimes the simplest things taste the best.
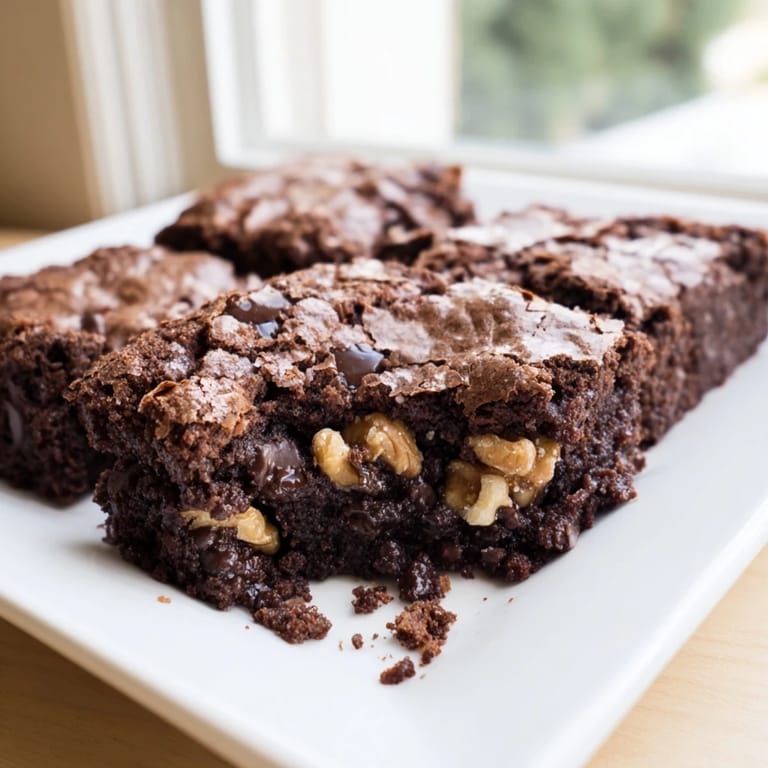
I made these for a friend who claimed to hate baking, and watching their face when they bit into one of these still-warm squares—that little moment of surprise when the fudgy center met the crackly top—reminded me why I love cooking for people. They immediately asked for the recipe and called me three days later to say they'd already made a second batch.
Ingredients
- Semi-sweet chocolate (170 g / 6 oz), chopped: Chopping it yourself matters more than you'd think—it melts more evenly than chips and gives you control over the final texture.
- Unsalted butter (115 g / 1/2 cup): The butter carries flavor here, so don't skip the quality; it's the foundation of that silky crumb.
- Granulated sugar (200 g / 1 cup): This provides structure and helps create that signature crackly top.
- Light brown sugar, packed (50 g / 1/4 cup): The molasses adds depth and a subtle chewiness you won't get from white sugar alone.
- Large eggs (2): Room temperature eggs incorporate more smoothly and create a better emulsion with the melted chocolate.
- Vanilla extract (1 tsp): Even this small amount lifts the chocolate flavor and makes it taste more complex.
- All-purpose flour (80 g / 2/3 cup): Less flour than you might expect keeps these fudgy, not cakey—measure by weight if you can.
- Unsweetened cocoa powder (30 g / 1/4 cup): This intensifies the chocolate without adding fat, so the brownies stay dense and rich.
- Salt (1/4 tsp): A tiny amount but essential; it makes the chocolate sing and balances the sweetness.
- Walnuts or pecans, chopped (100 g / 2/3 cup), optional: Adds a welcome textural contrast and keeps things interesting bite after bite.
- Chocolate chips (100 g / 2/3 cup), optional: If you use these instead of nuts, look for quality chips that won't seize up when melted.
Tired of Takeout? 🥡
Get 10 meals you can make faster than delivery arrives. Seriously.
One email. No spam. Unsubscribe anytime.
Instructions
- Set up your space:
- Preheat the oven to 175°C (350°F) and line your 20 cm square baking pan with parchment, letting it overhang the edges—this isn't just neat, it's how you'll lift these beauties out without a single crumb left behind.
- Melt the chocolate and butter:
- In a medium saucepan over low heat, stir the butter and chopped chocolate together until completely smooth and glossy, then take it off the heat and let it cool for a minute or two. You're aiming for warm, not hot—if it's too hot when you add the eggs, you'll scramble them.
- Build the batter base:
- Stir both sugars into the chocolate mixture until everything's well combined, then add your eggs one at a time, stirring well after each one goes in. Pour in the vanilla and give it a good mix.
- Add the dry ingredients gently:
- Sift the flour, cocoa powder, and salt together over the mixture, then fold it in with a spatula—this is where patience pays off. Overmixing develops gluten and makes brownies cake-like, so stop as soon as you don't see any flour streaks.
- Fold in your mix-ins:
- If you're using nuts or chocolate chips, gently fold them in now, distributing them evenly throughout the batter.
- Transfer and bake:
- Pour the batter into your prepared pan, smooth the top with a spatula, and slide it into the oven. Bake for 22–28 minutes, checking with a toothpick around the 22-minute mark—you want a few moist crumbs clinging to it, not a completely clean toothpick.
- Cool and cut:
- Let them cool completely in the pan (I know it's hard to wait), then use that parchment overhang to lift the whole thing out and cut into 16 squares with a sharp knife.
 Save to Pinterest
 There was this one time I brought a batch to a potluck where someone had made store-bought brownies, and I watched someone try mine first, then look confused before trying the store-bought one. The difference was immediate, and that moment taught me that homemade doesn't always mean complicated—sometimes it just means caring about what goes into the pan.
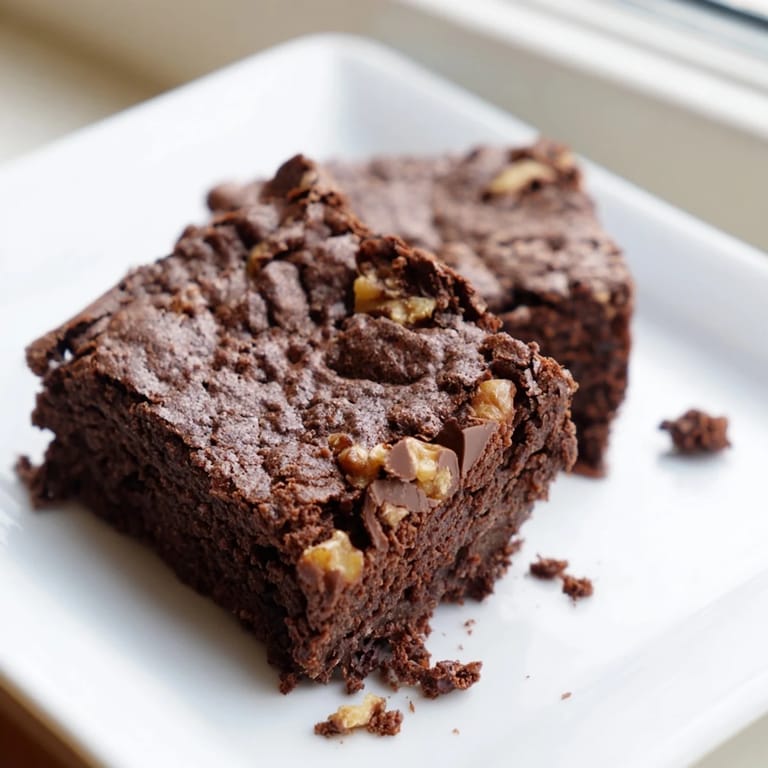
The Crackly Top Secret
That gorgeous crackly surface everyone loves isn't magic or a technique you need to master—it happens naturally when you whip enough air into the batter by stirring in the sugars thoroughly. The eggs also play a role here; they incorporate air, which creates tiny bubbles that expand in the oven and then set, giving you that signature textured top. I noticed this only after making dozens of batches, but once I saw the pattern, every single one came out with that beautiful crack.
Texture and Temperature Matter
The magic happens in those last few degrees of baking—the difference between fudgy and dry is literally a minute or two. I learned this the hard way when I got distracted and overbaked a batch, but it actually taught me to trust my senses more than the timer. A toothpick test isn't just a guideline; it's your conversation with the batter, telling you exactly when to stop.
Variations That Work
Once you nail the basic formula, you can play around without breaking anything. I've swapped half the chocolate for white chocolate, added espresso powder to deepen the flavor, or pressed malted chocolate on top before baking for something unexpected. The structure is so solid that it welcomes creativity, and that's when brownies go from being a dessert to being your signature thing.
- For extra fudgy brownies, underbake by a minute or two, then chill them before cutting—the texture sets perfectly.
- Swapping nuts for dried fruit, toffee bits, or leaving them out entirely keeps things interesting and allergy-friendly.
- Serving them warm with vanilla ice cream is the simple move that feels fancy every single time.
 Save to Pinterest
 These brownies have become my go-to when I need something that feels homemade but doesn't demand hours in the kitchen. They're proof that sometimes the best things don't need to be complicated—they just need to be made with a little attention and served with love.