 Save to Pinterest
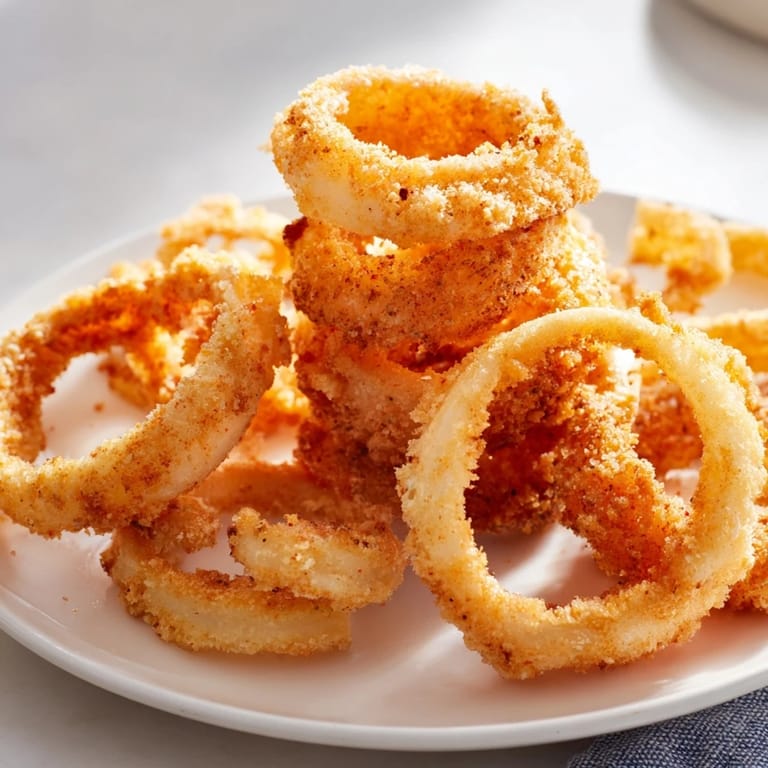
 My first batch of onion rings came from watching a friend work the fryer at a beachside boardwalk stand one summer. She let me peek behind the counter, and I noticed something I'd never seen before—she dipped the rings twice, let the batter drip, then somehow they emerged crackling like delicate golden armor. I went home determined to crack the code, and after a few soggy attempts, I figured out that cold carbonated water was the secret weapon. Now they're practically my signature move at cookouts.
I made these for my daughter's slumber party, and six teenagers devoured the entire batch before the movie even started. One of them kept saying "this is literally better than the restaurant," which felt like the highest compliment in the moment. That night taught me that good food isn't about fancy techniques—it's about that perfect moment when something warm and crispy hits your hand and makes people smile.
Ingredients
- Yellow onions: Use large ones so your rings stay intact when separated; they fry more evenly than smaller varieties and create those satisfying big pieces everyone fights over.
- All-purpose flour: The foundation of your batter; don't sift it, just whisk it gently to avoid overworking.
- Cornstarch: This is what makes them shatter-crisp instead of dense; it absorbs less oil and creates those delicate, lacy edges.
- Baking powder: Creates tiny air pockets that give you that ethereal, light texture.
- Salt, paprika, and garlic powder: Your flavor trio—together they give you that savory depth without overpowering the onion's natural sweetness.
- Cold sparkling water: The carbonation creates lift in the batter; cold temperature keeps gluten from developing too much, which means a lighter crust.
- Panko breadcrumbs: Optional but worth it if you want extra crunch and visual appeal—they add a second textural layer.
- Vegetable oil: Use neutral oil with a high smoke point; I prefer canola or peanut oil for consistent results.
Tired of Takeout? 🥡
Get 10 meals you can make faster than delivery arrives. Seriously.
One email. No spam. Unsubscribe anytime.
Instructions
- Prep your rings:
- Slice your onions into thick half-inch rings, then gently separate them so you have individual rings rather than clusters. This takes two minutes and completely changes your outcome—separated rings cook evenly and crisp up beautifully.
- Mix your dry ingredients:
- Whisk flour, cornstarch, baking powder, salt, paprika, and garlic powder together in a medium bowl. You're looking for an even blend with no lumps, which ensures every ring tastes consistent.
- Build the batter:
- Slowly pour your cold sparkling water into the dry mix while whisking gently, stopping when you reach a thick consistency—thicker than pancake batter but thinner than cookie dough. The carbonation will keep things light, so don't overmix or you'll lose that advantage.
- Heat your oil:
- Use a thermometer and bring your oil to exactly 350°F. Too cool and they'll absorb oil and feel greasy; too hot and they'll brown before the inside softens.
- Dip and fry:
- Working in small batches so the oil stays hot, dip each ring into batter, let excess drip off for a second, then gently place it in the oil. If using panko, dredge the battered ring lightly before frying for that extra crunch.
- Watch and turn:
- Fry for 2 to 3 minutes, turning occasionally with a fork or tongs, until they're deep golden brown. Trust your eyes here—that color tells you they're done.
- Drain and serve:
- Remove rings with a slotted spoon and lay them on paper towels while they're still hot. Serve immediately with whatever sauce calls to you.
 Save to Pinterest
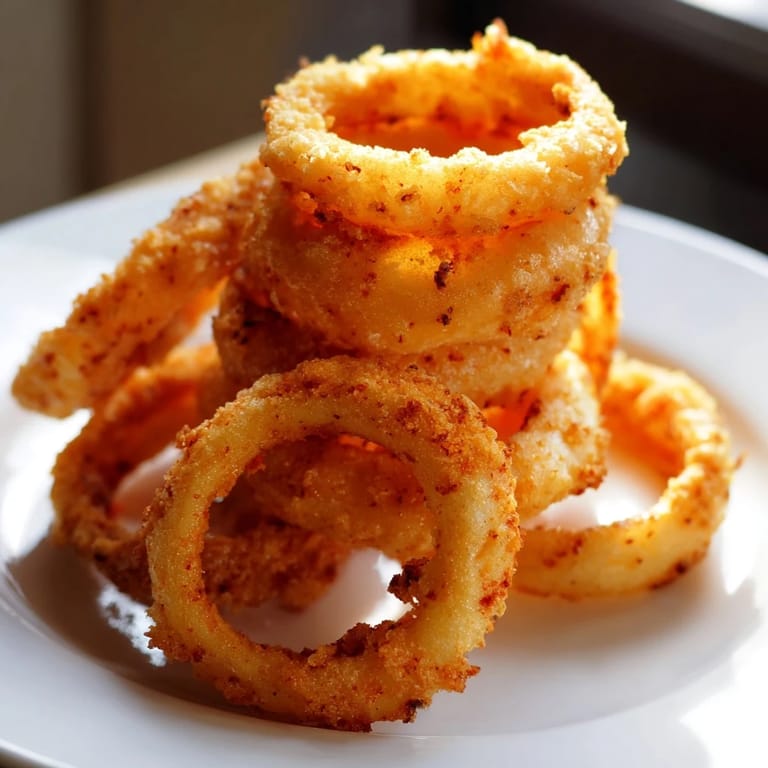
 There's something almost meditative about the sound of onion rings hitting hot oil, that immediate sizzle that tells you everything is working. My mom actually joined me in the kitchen last time I made them, and we just stood there listening and chatting until they turned golden, like we were cooking together in the most uncomplicated way possible.
The Secret to Shatter-Crisp Texture
The magic really does come from cold carbonated water. Sparkling water or beer works because the bubbles expand when they hit hot oil, creating those tiny air pockets that make the exterior crisp without trapping moisture inside. Regular cold water will work if that's all you have, but you'll notice the difference—the rings won't have quite that ethereal quality.
Troubleshooting What Goes Wrong
Rings coming out pale or soft? Your oil isn't hot enough, or you're crowding the pan. Each ring needs space to fry, and that 350°F mark is real. Batter falling off? It's either too thin or you're letting it sit too long before frying—mix it just before you start dipping. Too much oil absorption? That's usually an oil temperature issue again, or you're frying them too long.
Serving and Storage Ideas
Eat these hot, ideally within minutes of draining. Cold onion rings are sad onion rings—all that crispness fades quickly. They're best served with something cool and tangy: ranch dip, sriracha mayo, ketchup, or even a sharp remoulade if you're feeling fancy. For leftover rings (though there rarely are any), reheat them in a hot oven to restore some of that crackle.
- Try them alongside a burger or as the star of their own plate with multiple dipping sauces.
- A tiny pinch of cayenne in the batter transforms them into something with subtle heat and depth.
- If you're making these for guests, fry them just before serving—they stay crispest that way.
 Save to Pinterest
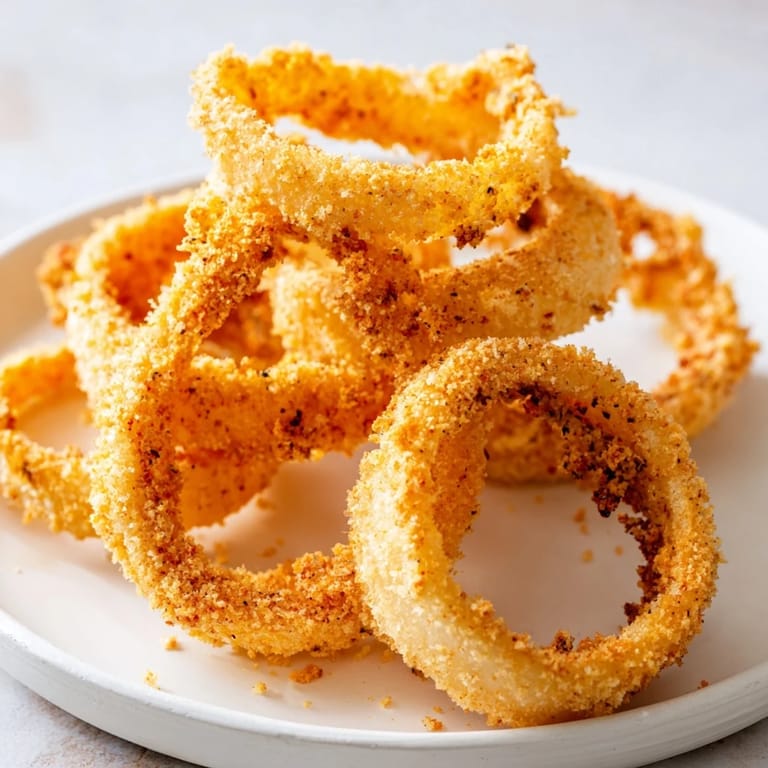
 Onion rings feel like celebration food to me now—simple enough for a weeknight craving but special enough to bring to a gathering. Once you nail that first batch, you'll understand why people stand around the fryer waiting for them to come out.