 Save to Pinterest
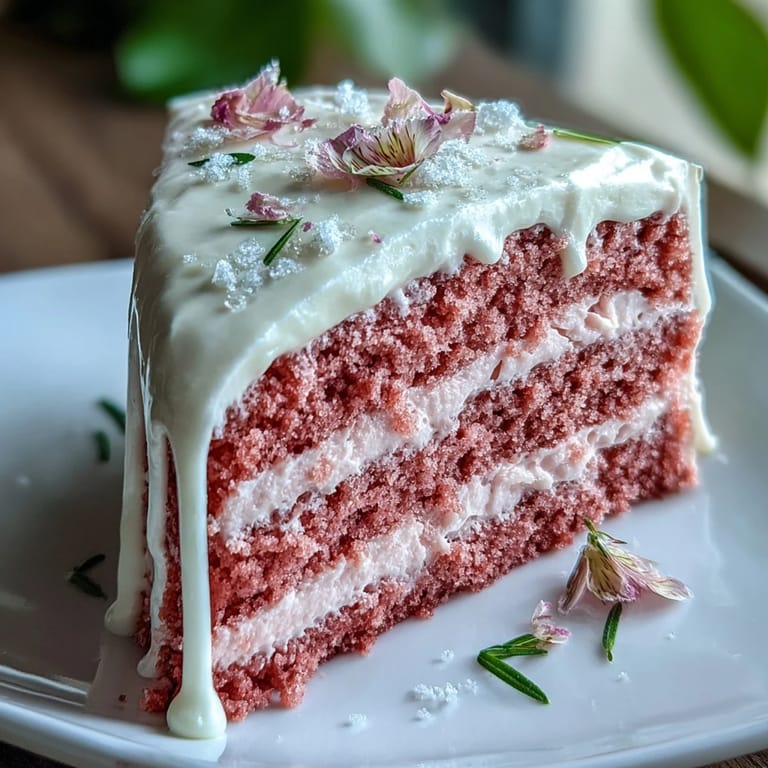
 The first time I baked this Rosé Velvet Cake, the kitchen was awash in late-afternoon sunlight, and somewhere between the scent of cocoa and a bubbly splash of rosé, I realized how unexpectedly festive baking for a bridal shower can feel. Measuring and sifting flour while humming along to a playlist, I felt more like a sous chef at a grand celebration than a home baker. The blush of pink batter was enough to make me smile—just the right hue to honor an occasion so full of anticipation and joy. Smudging gold luster on my fingers while painting the final drip wasn’t planned, but suddenly it felt like my little nod to the future bride’s sparkle. The cake was almost too pretty to cut, but curiosity—and a room full of eager guests—won out quickly enough.
The first slice disappeared before I could even set the knife down—someone jokingly demanded to know where I’d found edible gold, setting off a wave of giggles and questions about the blushing crumb. Sharing it with friends, their fingers dotted with a bit of pink frosting, felt like a tiny moment of celebration all its own. The last few bites were accompanied by wedding stories from every corner of the room, each person lingering just a little longer for one more forkful. I realized then that this cake was destined for more than just one shower. It became the unofficial tradition for every special celebration that followed.
Ingredients
- All-purpose flour: Sifting this is my secret to a tender crumb—it makes the cake far less dense.
- Granulated sugar: I’ve found superfine sugar blends best for a velvety batter, but classic is always reliable.
- Baking soda & baking powder: Both are crucial for the perfect rise, so double-check their freshness.
- Salt: Don’t skip this—it brightens all the flavors, even in dessert.
- Unsweetened cocoa powder: Dutch-process gives a smoother color, but natural cocoa works if that’s what’s on hand.
- Unsalted butter: Room temperature butter creams easiest—it’s worth the wait for a fluffy start.
- Buttermilk: This keeps the crumb soft and gives it a subtle tang.
- Rosé wine: The star of the show; use one you’d happily sip.
- Eggs: Letting them reach room temperature helps everything blend effortlessly.
- Vanilla extract: I once used a vanilla bean pod for extra depth, but extract is just right here.
- White vinegar: It reacts with the cocoa for that unique velvet texture.
- Pink food coloring gel: Just a little transforms the cake into celebration mode—add it little by little.
- Cream cheese: Softened cream cheese ensures a silky, lump-free frosting.
- Powdered sugar: Sifting is the secret to a frosting as smooth as satin.
- Heavy cream: Essential for the white chocolate gold drip, creating just the right pourable texture.
- White chocolate chips: I prefer a good-quality chip so the color stays bright against the cake.
- Edible gold luster dust: The crowning detail that transforms the whole cake into celebration art.
- Vodka or clear extract: Just a tiny bit turns the luster into an easy-to-apply paint. Water doesn’t work as well.
- Pinch of salt: A little in the frosting balances all the sweetness beautifully.
Tired of Takeout? 🥡
Get 10 meals you can make faster than delivery arrives. Seriously.
One email. No spam. Unsubscribe anytime.
Instructions
- Prep the Pans:
- Grease and line three 8-inch round cake pans, then let parchment stick to the bottom—less stress about sticking when you turn them out later.
- Sift Dry Ingredients:
- In a medium bowl, whisk together flour, cocoa, baking soda, baking powder, and salt; watch how the cocoa dust billows—one swipe with the whisk and the dry mix takes on an earthy aroma.
- Cream Butter & Sugar:
- Beat softened butter and sugar until truly pale and fluffy—the kind of fluffy that leaves soft peaks on the beater.
- Add Eggs & Vanilla:
- Drop in eggs one at a time, scraping down the bowl, then rush in the vanilla; the mixture will get glossy and almost thick enough to mound on a spoon.
- Incorporate Wet Ingredients:
- Pour in buttermilk, rosé, and vinegar; the batter may look a little curdled, but once the dry ingredients join the party it smooths out fast.
- Color to Perfection:
- Add pink gel a drop at a time, stirring till the color looks like the inside of a fresh rose petal.
- Bake:
- Divide the blush batter between pans, smooth the tops, and bake until your kitchen smells edible and a toothpick comes out clean from the center.
- Cool Completely:
- Allow cakes a 10-minute cool in the pans, then flip onto wire racks and let the air do its work—patience is key here.
- Make Frosting:
- Beat together butter and cream cheese until creamy, then pulse in powdered sugar, rosé, vanilla, and a pinch of salt until fluffy and spreadable.
- Layer & Crumb Coat:
- Level the cakes if needed, then build layers with frosting in between; sweep a thin crumb coat all over and chill before the final coat.
- Add Gold Drip:
- Gently melt white chocolate and cream, cool, and then drip down cake edges with a spoon or bottle—messy is perfectly fine here.
- Paint It Gold:
- Mix gold dust with vodka or extract, then paint over the drip with a gentle touch; the edible shimmer catches the light so elegantly.
- Chill & Serve:
- Chill your masterpiece for a half hour before unveiling—watch everyone’s faces light up as you slice.
 Save to Pinterest
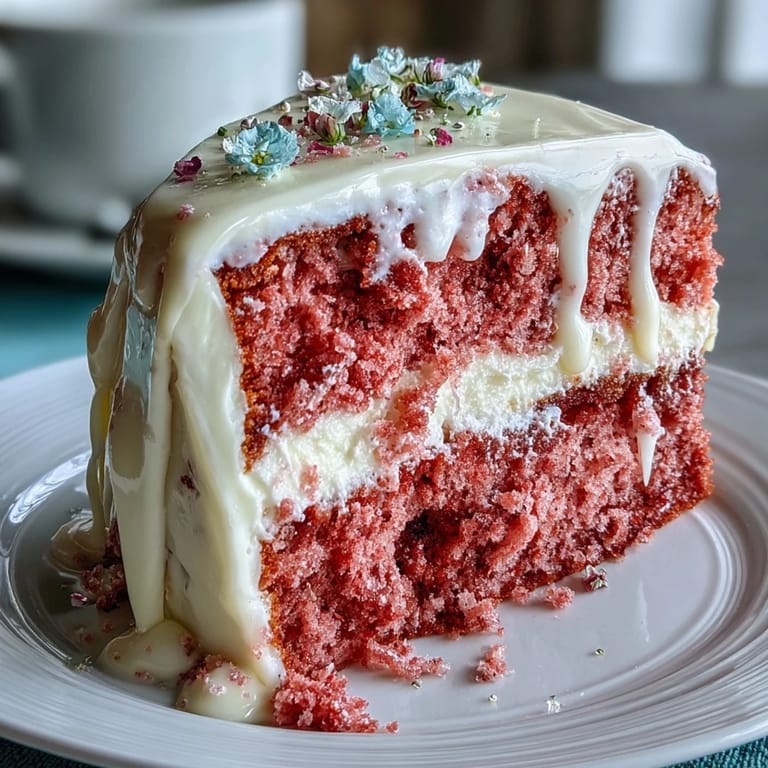
 Watching guests sneak thirds of this cake at my cousin’s bridal shower, I caught her tracing a finger through a line of gold drip, laughing and whispering she was saving the recipe for her own rotation of celebrations. In that bustling little moment, the cake felt like both centerpiece and a sweet bond between friends—proving that sometimes, a bit of frosting and sparkle can make memories that last longer than any ribbon or bouquet.
How to Make Your Gold Drip Truly Shine
I’ve tried a few brands of edible gold luster dust, but the ones with the finest texture always seem to paint on most evenly—no gritty streaks, just pure shimmer. Keep your brush just barely damp with the vodka mixture for best results; too wet, and you’ll risk streaking the chocolate. Each swirl of gold felt like adding a tiny celebration to every inch of the cake, making even small imperfections look intentional and artistic.
Serving Tips for a Celebration
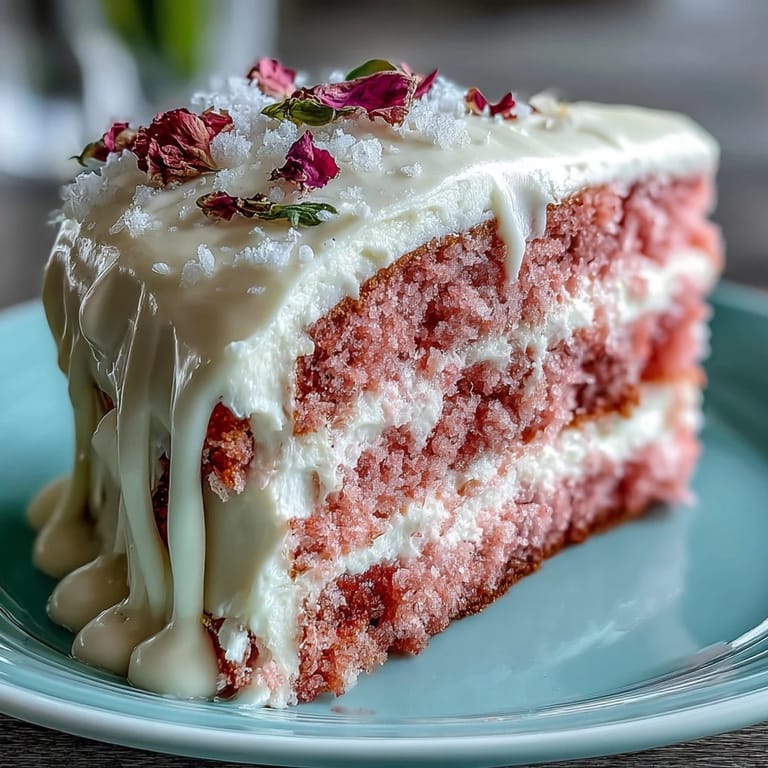
This cake is best served lightly chilled—the layers stay together and the frosting doesn’t melt under warm party lights. Slicing with a sharp, hot knife makes for those picture-perfect wedges everyone tries to Instagram. Once, I scattered a handful of edible rose petals atop and, with the gold glinting in the early evening sun, the cake nearly upstaged the bride herself.
Easy Ways to Personalize This Showstopper
Don’t be afraid to make this cake your own—even swapping in sparkling grape juice for a non-alcoholic version keeps the festivities going for everyone. Adding fresh berries or edible flowers between the layers gives it garden-party flair and an extra pop of color. When you’re pressed for time, using a star tip to pipe simple rosettes across the top can be just as effective as painstaking decoration.
- If your gold drip “sets” before you paint, lightly rewarm for better results.
- Chill all components when assembling on a warm day—the frosting will thank you.
- One more: taste as you go—the rosé flavor should always stay delicate, never boozy.
 Save to Pinterest
 May this cake bring as much sparkle and sweet anticipation to your celebration as it did to mine. Here’s to making every bite a tiny moment worth remembering.
Recipe FAQs
- → Can I make a non-alcoholic version?
Yes. Substitute rosé with sparkling grape juice or a rosé-flavored syrup. Brush layers lightly to preserve moisture without adding alcohol.
- → How do I get an even blush color?
Add pink gel coloring a little at a time and mix thoroughly between drops. Gel offers stronger color without thinning the batter.
- → What’s the best way to keep layers moist?
Brush cooled layers with a thin simple syrup or reserved rosé (or grape juice) before assembling. Avoid overbaking and allow full cooling on wire racks.
- → How do I achieve a smooth crumb coat?
Apply a thin layer of frosting to seal crumbs, chill the cake for 20–30 minutes, then apply the final smooth layer with an offset spatula or bench scraper.
- → Is there an alternative to vodka for the gold paint?
Use a clear non-alcoholic extract or a small amount of clear lemon juice to mix with edible luster dust. Test on a scrap of chocolate first.
- → How should I store the finished cake?
Chill the cake covered in a cake box or dome. Remove from fridge 30–60 minutes before serving to let flavors round out and the frosting soften.