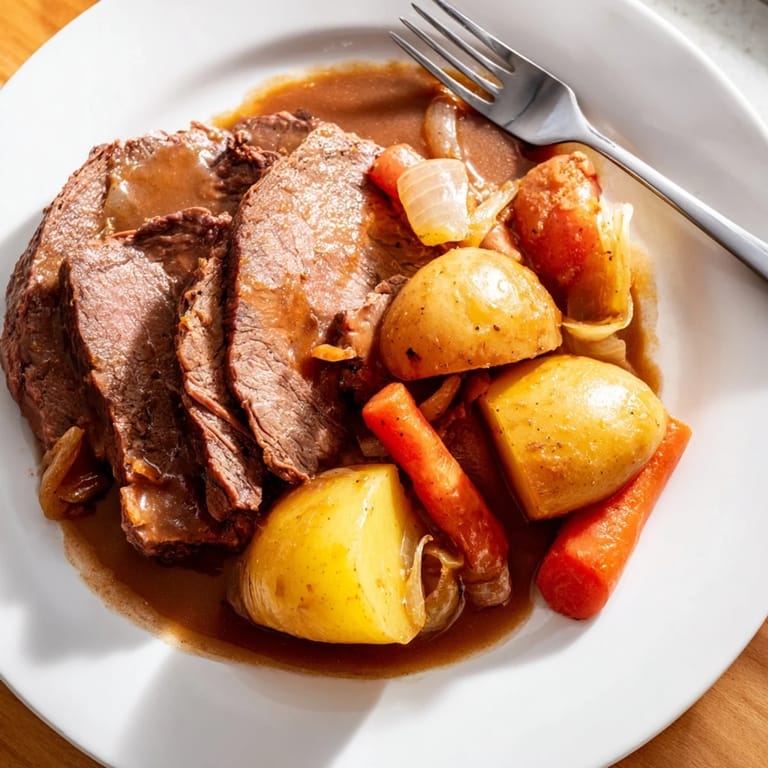
 Save to Pinterest
 There's something about the smell of beef browning in a hot pot that pulls me back to Sunday afternoons at my grandmother's house, when the whole kitchen would fill with this deep, savory warmth hours before dinner was ready. She'd sear that chuck roast until it was mahogany-dark, and somehow that single step promised everything good that was coming. I've made this pot roast countless times since, and I've learned that the magic isn't hidden in fancy ingredients or complicated technique—it's in patience and the simple confidence of letting time do the work.
I made this for my partner on a rainy October evening when we'd both had rough weeks, and I remember him sitting down, taking that first bite, and just going quiet for a moment. Not in a bad way—in that grateful way where food suddenly feels like more than fuel. We ate in near silence except for the clink of forks, and afterward he said it tasted like home, even though he'd never had it before. That's when I realized this dish isn't just about feeding people; it's about telling them they matter enough to spend three hours in the kitchen.
Ingredients
- Chuck roast (3–4 lbs): This cut is the workhorse of pot roasting—it's marbled with fat that melts into the broth and makes the meat impossibly tender. Don't be tempted to use a leaner cut like sirloin; it'll dry out before it gets tender.
- Kosher salt and black pepper: These aren't just seasonings; they're the foundation for the browning that creates the deep flavor your whole dish builds on.
- Olive oil: Use a generous pour for searing—you need enough to create real heat and that gorgeous crust on the meat.
- Yukon Gold or Russet potatoes: Yukons stay creamy and hold their shape beautifully, while Russets get more tender and absorb the gravy. Choose based on your preference.
- Carrots and onions: These aren't side players; they break down and thicken your broth naturally while adding layers of sweetness and body.
- Garlic: Smashing the cloves rather than mincing them means you can fish them out before serving if you prefer, or let them dissolve into the braising liquid.
- Beef broth and red wine: The wine adds complexity and a slight tanginess that balances the richness; skip it if you prefer, but it's worth keeping on hand.
- Tomato paste: This small amount deepens the color and adds umami without making anything taste tomatoey.
- Worcestershire sauce: A tablespoon is all you need to hint at the savory depth.
- Thyme and bay leaves: These herbs are quiet workers—they won't announce themselves, but you'll notice they're missing if you skip them.
- Flour or cornstarch: Either works for the gravy; cornstarch gives a silkier finish, while flour adds a subtle richness.
Tired of Takeout? 🥡
Get 10 meals you can make faster than delivery arrives. Seriously.
One email. No spam. Unsubscribe anytime.
Instructions
- Heat your oven low and slow:
- Set it to 300°F before you start anything else. A slow oven means the meat braises gently rather than toughening up, and it gives you more control over timing.
- Dry and season the beef:
- Pat that roast completely dry—moisture is the enemy of a good sear. Season generously on all sides; this is not the time to be shy with salt and pepper.
- Get that crust:
- Heat your Dutch oven until the oil shimmers, then lay the roast in carefully. Let it sit for 4–5 minutes on each side without moving it around—you're building flavor here, not cooking it through. The sear should be dark mahogany, almost to the point where you think it might be too dark. It's not.
- Build the flavor base:
- Once the roast is out, add onions and garlic to the same pot and let them soften and get golden, about 2–3 minutes. They're picking up all those browned bits from the beef, which is where the depth lives.
- Add tomato paste and deglaze:
- Stir the tomato paste in and let it cook for a full minute to concentrate, then pour in your wine and use a wooden spoon to scrape up every bit of that flavorful crust stuck to the bottom. This deglazing step is essential; don't skip it.
- Return the beef and layer everything:
- Settle the roast back in, pour in your broth and Worcestershire, then scatter the thyme and bay leaves over everything. Arrange your potatoes and carrots around the beef—they don't need to be submerged, just nestled in.
- Let the oven do the work:
- Cover the pot and slide it into that low oven. For 3 to 3½ hours, the heat is transforming tough muscle fibers into something tender and the vegetables into something sweet and soft. You can crack the lid to check progress around the 2-hour mark, but mostly just let it be.
- Make your gravy:
- Once the beef is fork-tender, remove it and the vegetables to a platter. Skim the fat from the top of the liquid, whisk your flour and cold water into a smooth slurry, then stir it into the pot while it simmers on the stovetop. Whisk constantly so it thickens evenly, about 3–5 minutes, until it coats the back of a spoon.
- Slice and serve:
- Cut the roast into thick slices, pour that silky gravy over everything, and bring it to the table while it's still steaming.
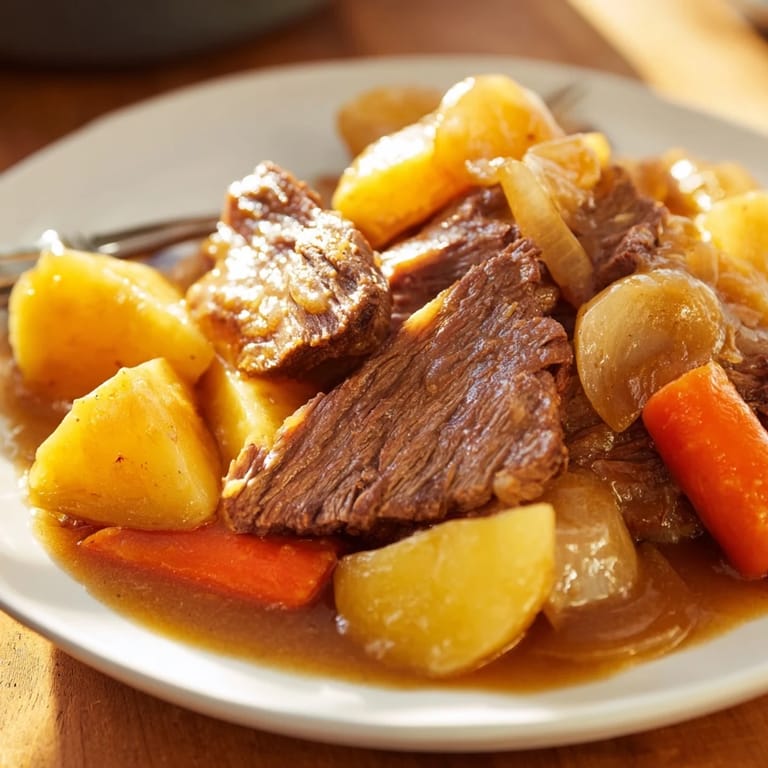 Save to Pinterest
 My neighbor came over one winter evening when this was braising, and within minutes she'd parked herself at my kitchen counter asking about every detail. She said it smelled like something her mother made, but better, and I realized that's what good food does—it creates this permission to feel comforted and cared for, whether that's a memory you're recovering or a new one you're building.
Why This Braise Works
Braising is one of those cooking techniques that sounds fancy but is actually incredibly forgiving. You're essentially wrapping your ingredients in a moist, gentle heat for hours, which means the timing doesn't have to be exact and the results are almost always tender and delicious. The low oven temperature is key—it allows the meat to become soft without the outside drying out or toughening. This is comfort cooking at its core, the kind that rewards patience instead of speed.
The Vegetable Question
Some people add their vegetables early and some add them late, and honestly, both approaches work. I prefer adding potatoes and carrots about halfway through because they stay firmer and slightly al dente rather than turning to mush. If you like your vegetables very soft and broken down, add them from the start and they'll essentially melt into the gravy. Either way, those vegetables are doing double duty—they're feeding you and thickening the braising liquid naturally through their starches and break down.
Serving and Storing
This dish tastes even better the next day, when all those flavors have had time to get to know each other. Reheat it gently on the stovetop, adding a splash of broth if the gravy has thickened too much in the fridge. Serve with something to soak up that gravy—crusty bread, mashed potatoes, or egg noodles all disappear fast when you have a bowl of this pot roast in front of you.
- Leftovers keep for up to four days in the fridge and freeze beautifully for up to three months in an airtight container.
- If you're serving a crowd, this doubles easily and actually benefits from the extra cooking time.
- Cold leftover beef makes exceptional sandwiches on thick-cut bread, especially if you spoon some chilled gravy on top.
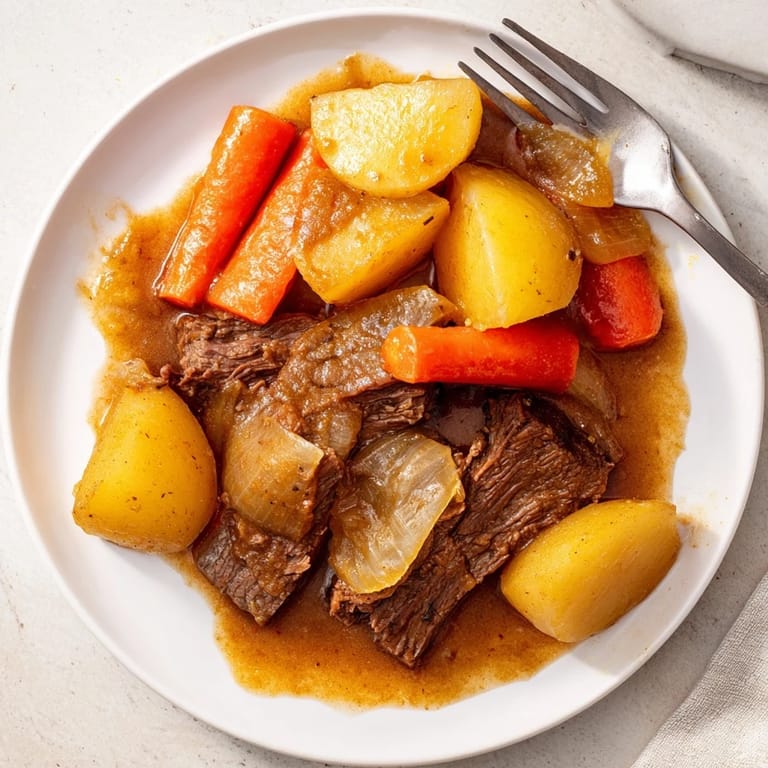 Save to Pinterest
 Every time I make this, I'm reminded that the best meals are the simple ones that ask for time instead of tricks. This pot roast is an invitation to slow down, to fill your house with a smell that says you care, and to sit across from people with something warm and tender in front of you.
Recipe FAQs
- → What cut of beef is best for this dish?
Chuck roast is preferred for its marbling and tenderness after long, slow cooking.
- → Can I skip the red wine in the liquid?
Yes, you can substitute with extra beef broth for a milder flavor.
- → How do I ensure the vegetables are tender?
Cut potatoes and carrots into large chunks and cook covered in the oven until fork-tender.
- → What thickener options work for the gravy?
All-purpose flour or cornstarch can be used; cornstarch keeps it gluten-free.
- → How do I get a rich flavor in the gravy?
Sauté onions and garlic first, then deglaze with wine, adding tomato paste and Worcestershire sauce for depth.